Integrate with ConnectWallet
If you also want to integrate this wallet with ConnectWallet component in React SDK or React Native SDK, You have to create a Wallet Configurator function which can be passed to ThirdwebProvider component
A unique ID for your wallet. It is used to identify your wallet among other wallets in the app.
It can be anything, but using the name of your wallet as id is recommended because it
is not likely to be used by other wallets.
metadata of your wallet.
name and iconURL are required. They are used to display your wallet in the list of supported wallets in Connect Wallet Modal's Wallet Selector screen.

urls object is optional and all of its properties are optional as well.
A function that creates and returns the wallet instance.
You can create an instance of your wallet using the walletOptions provided by the create function and optionally add the options provided by the myWallet function.
since the create method only provides options of type WalletOptions - the rest of the wallet-specific configuration (if any) can be exposed as options of the myWallet function.
A function that returns a React component that renders the UI for connecting your wallet.
This UI will be rendered inside the ConnectWallet Modal when the user clicks on your wallet in the wallet-selector screen.
The connectUI function provides the props of type ConnectUIProps which you can use in your UI to trigger various actions - like closing the modal, opening the modal, connecting the wallet, going back to the list of supported wallets etc.
WalletConfig object of your wallet. You can use it for connecting your wallet and getting metadata
List of all supported wallets including your wallet.
You can use this to conditionally render UI based on how many wallets are supported.
If only one wallet (your wallet) is supported, ConnectWallet Modal will skip showing the wallet selection screen and directly render the connectUI of your wallet.
You can detect this by checking if supportedWallets.length === 1 and adjusting your UI accordingly - for example: not rendering a "back" button
Open the ConnectWallet modal
close the ConnectWallet modal.
If close is called with true ( reset = true ), the ConnectWallet modal will be reset to its initial state - so that if it's opened again, it will start from the wallet-selection screen. By default reset is true
Indicates whether the ConnectWallet modal is open or not
Go back to the wallet selector screen in ConnectWallet modal
The theme of the ConnectWallet modal. You can use this to render your connect UI to match the theme of the modal
selectionData passed from selectUI's onSelect function.
This is only relevant if you are using selectUI to render a custom UI for selecting your wallet
set selectionData.
This is only relevant if you are creating a connectUI which involves rendering other wallets and you need to render the selectUI of those wallets and need to pass down the onSelect prop.
If no connectUI is given, the wallet is assumed to be in "headless" mode - meaning that it does not require any UI to be rendered inside the ConnectWallet Modal to connect the wallet - This can be the case if either the wallet has its own UI that is appended to DOM (Example: walletConnect on web) or it does not require any UI at all.
In this case, when the user clicks on your wallet in the wallet selector screen, your wallet is connected using the useConnect hook and the ConnectWallet Modal is closed.
A function that returns a React component that renders the UI for selecting your wallet.
Instead of the default icon + name in wallet selector screen, you can render a custom UI for your wallet.
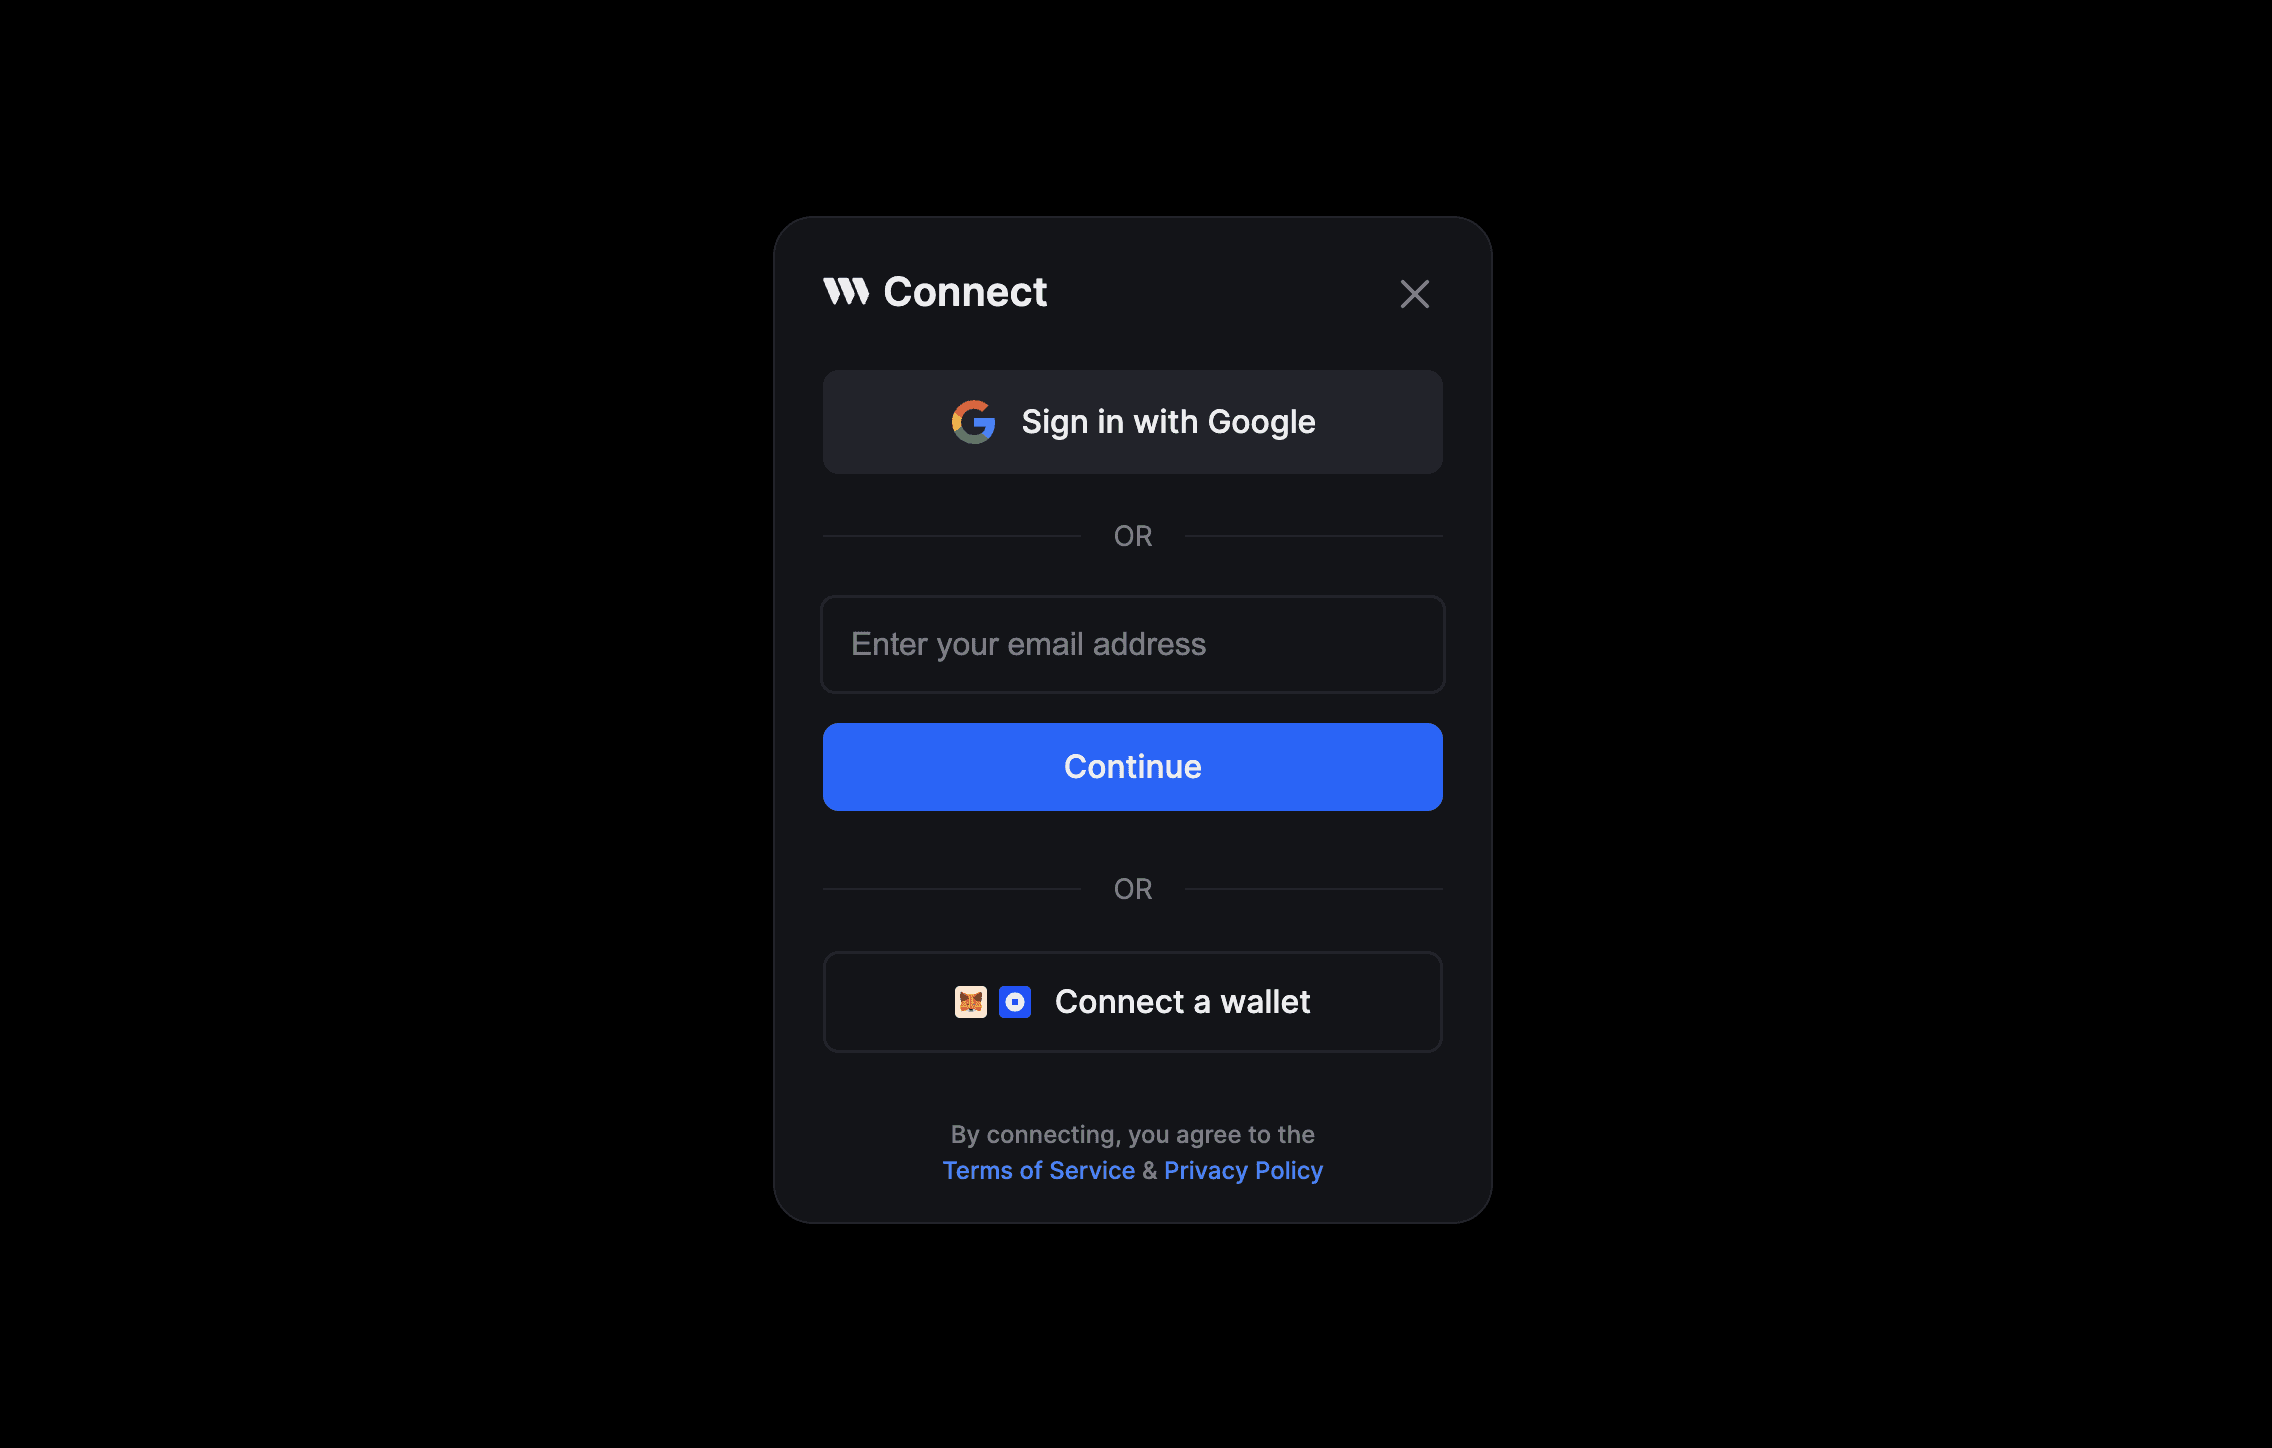
Take in-app wallet for example, It renders an Social Icons + Email Input.
In this example, rest of the wallets are put behind a "Connect a wallet" button - that is NOT because the inAppWallet wallet has a custom selectUI but because the inAppWallet is a social login.
If you add a custom selectUI to your wallet, This will not be the case and rest of the wallets will be rendered in the same screen below your wallet's selectUI

Wallets with selectUI are rendered at the top of the list in ConnectWallet Modal's wallet selector screen.
The selectUI function provides the props of type SelectUIProps which you can use in your UI to trigger wallet selection and move to the next screen in ConnectWallet Modal using onSelect and also optionally save user's input using onSelect(data) which will be passed to connectUI's selectionData prop.
Call this function to "select" your wallet and render the screen for connecting the wallet. You can optionally pass selectionData to be passed to connectUI's selectionData prop
The theme of the ConnectWallet modal. You can use this to render your select UI to match the theme of the ConnectWallet modal
WalletConfig object of your wallet. You can use this to get metadata of your wallet by doing walletConfig.meta
List of all supported wallets including your wallet.
You can use this to conditionally render UI based on how many wallets are supported.
For example, You can render an "OR" at the bottom of your UI if more than one wallet is supported
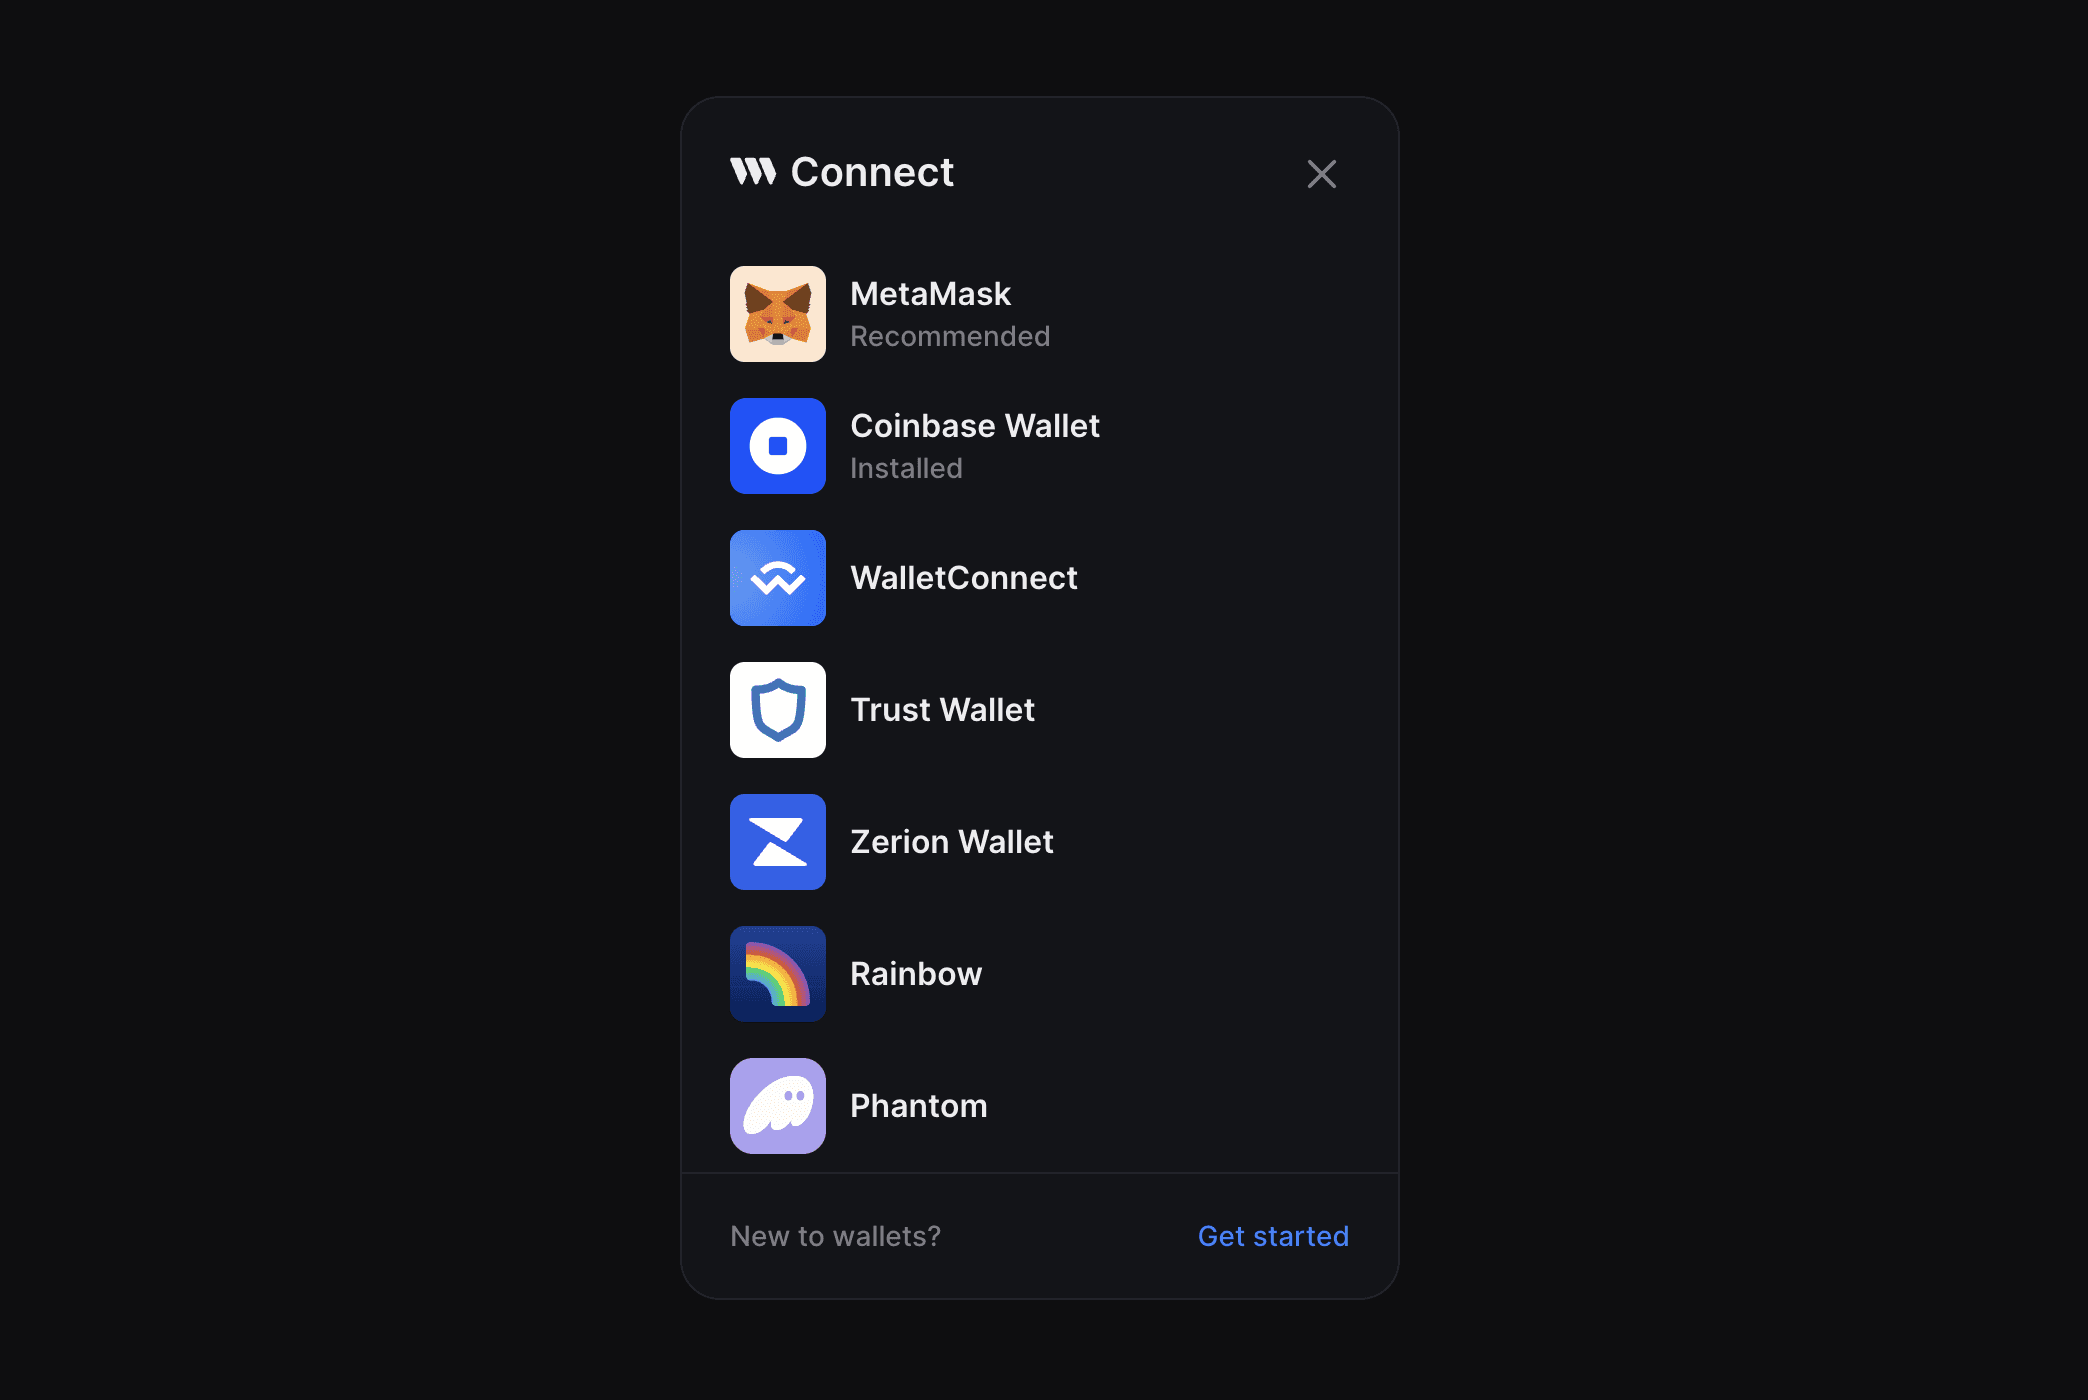
A function that returns a boolean indicating whether your wallet is installed on the user's browser/device or not.
It is used to show an "installed" badge below the wallet's name in ConnectWallet Modal if this function is defined and returns true.
See Coinbase wallet in below screenshot for example:

Set it to true if the wallet should have the "recommended" badge shown below its name in ConnectWallet Modal.
See MetaMask wallet in below screenshot for example:

There are two ways to connect your wallet in connectUI
The recommended way to connect your wallet is to use the useConnect hook.
You should only use this method if you need access to the wallet instance before connecting your wallet. Otherwise, use the useConnect hook.
There are 3 steps to connect your wallet manually:
- create an instance of your wallet using useCreateWalletInstance
- connect your wallet using the
connectmethod of your wallet - once the wallet is connected, set the wallet instance as connected using useSetConnectedWallet
Make sure to update the connectionStatus using useSetConnectionStatus to "connecting" before connecting your wallet and "disconnected" if the connection fails.
Instead of the default icon + name in the wallet selector screen, you can render a custom UI for your wallet.
Take in-app wallet for example, It renders Social Icons + Email Input.

In this example, rest of the wallets are put behind a "Connect a wallet" button - that is NOT because the inAppWallet wallet has a custom selectUI but because the inAppWallet is a social login.
If you add a custom selectUI to your wallet, This will not be the case and rest of the wallets will be rendered in the same screen below your wallet's selectUI
This can be done by specifying a React component in the selectUI property of your wallet config.
Add your wallet to ThirdwebProvider
You can now use your wallet with the Connect Wallet button! Simply add it to the supportedWallets prop of the ThirdwebProvider.
You can look at how thirdweb-dev/react package's built-in wallets are implemented for reference:
If you think your wallet implementation would be useful to others, please consider sharing it by opening a PR to the @thirdweb-dev/wallets package.